Product Inquiry & Support
To get this extension, go to the Product Inquiry & Support extension page.
Product Inquiry & Support
Frontend
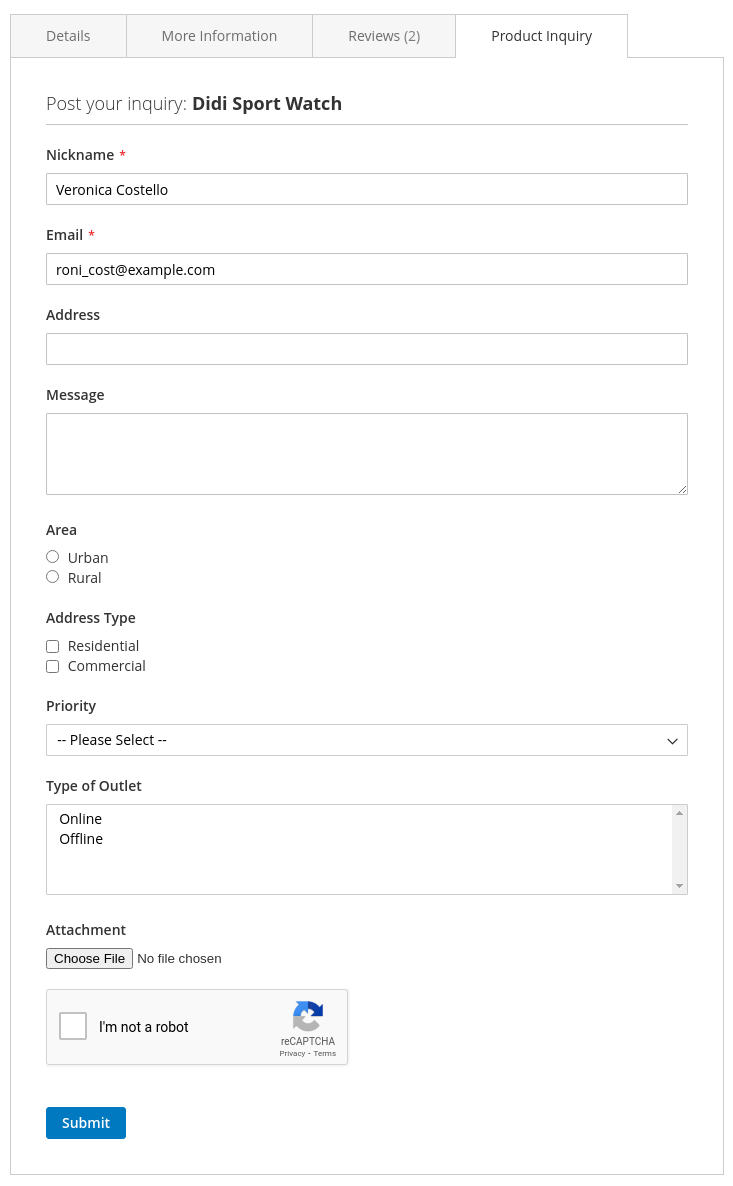
Inquiry tab on the product page
If the Type is set to Tab in the configuration Stores ⟶ Configuration ⟶ Magediary ⟶ Product Inquiry & Support ⟶ Form ⟶ Type then product inquiry tab will be displayed on the product page if found.
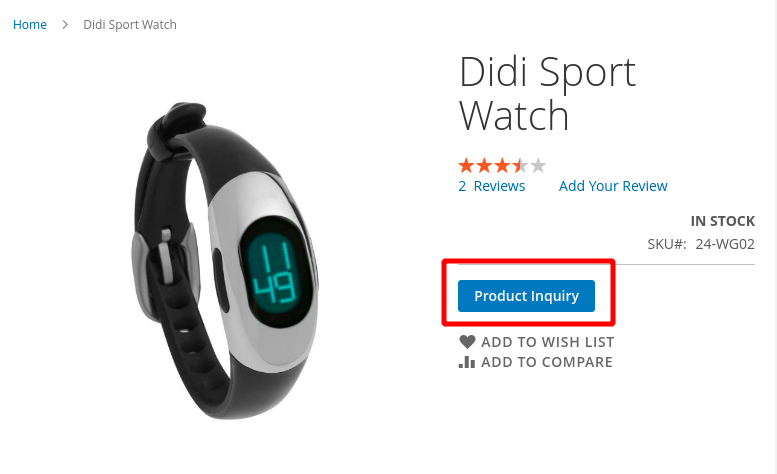
Inquiry button on the product page
If the Type is set to Pop-up in the configuration Stores ⟶ Configuration ⟶ Magediary ⟶ Product Inquiry & Support ⟶ Form ⟶ Type then the button will be displayed on the product page if found the form. On clicking the button, it shows the form in the pop-up.
Inquiry button on the category page
On the category page, it always shows the button if found the form. On clicking the button, it shows the form in the pop-up.
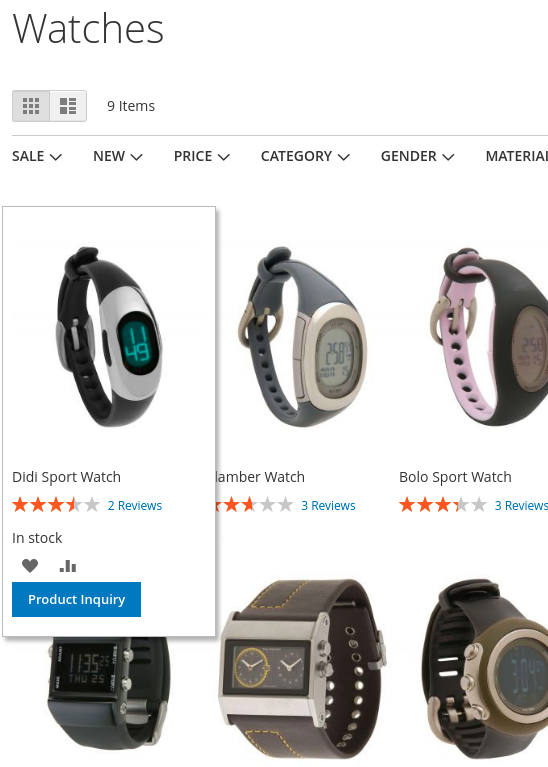
When the user clicks on the button, the form shows in the pop-up.
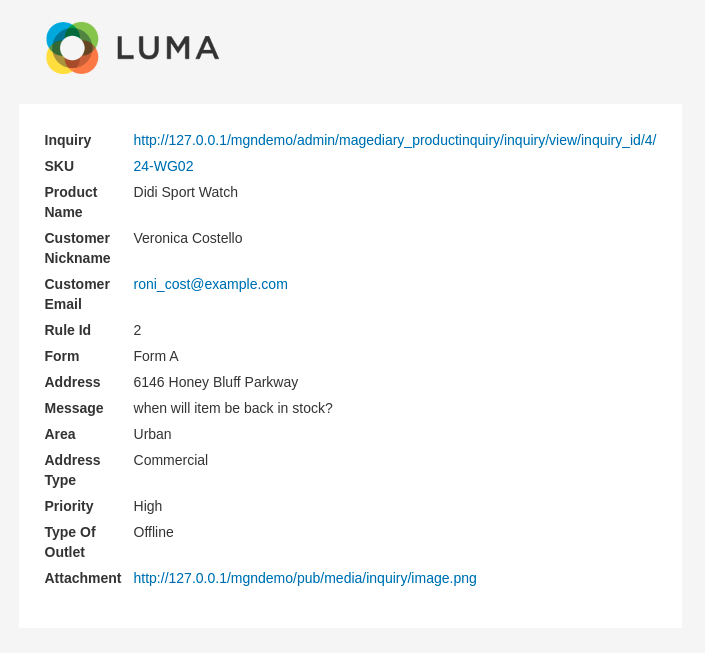
Submit an inquiry
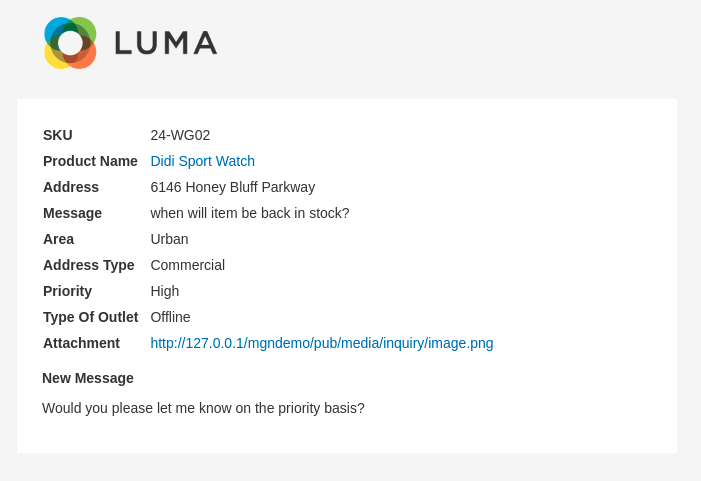
On submitting the form, the admin will get an email notification.
The email includes the Inquiry view link from which the admin can directly access the backend inquiry view page and add a reply.
My Account
The logged in users can access all submitted inquiries from the My Account ⟶ My Product Inquiries section.
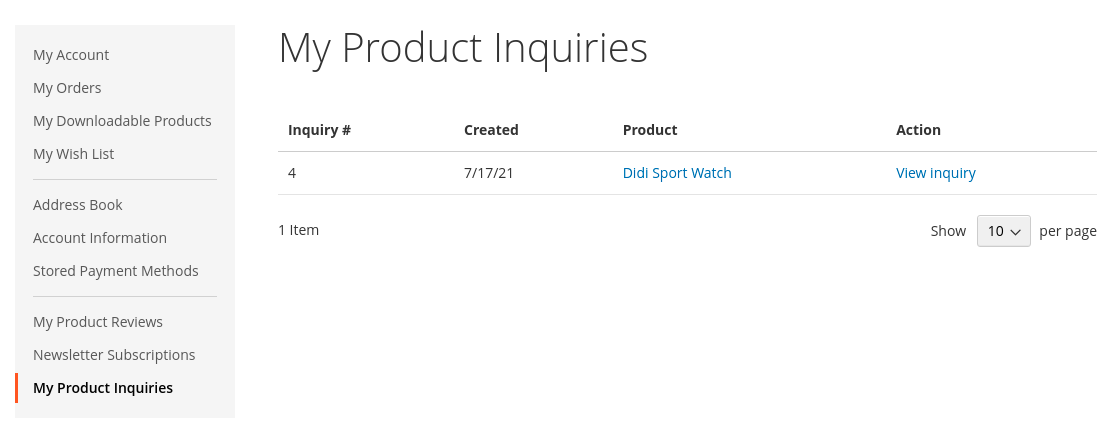
The grid list outs the following columns.
- Inquiry # specifies the ID of the inquiry.
- Created specifies the date of the submission.
- Product specifies the name of the product for which the inquiry is submitted.
- Action view the detail page that displays all information and the customer can post a reply.
View inquiry
The customer can view submitted inquiry from two access points
- My Account
- For logged in users
- Email
- Guest user can view inquiry from the link included in the email
The customer can click on the View inquiry link that shows details and all posted replies of the inquiry.
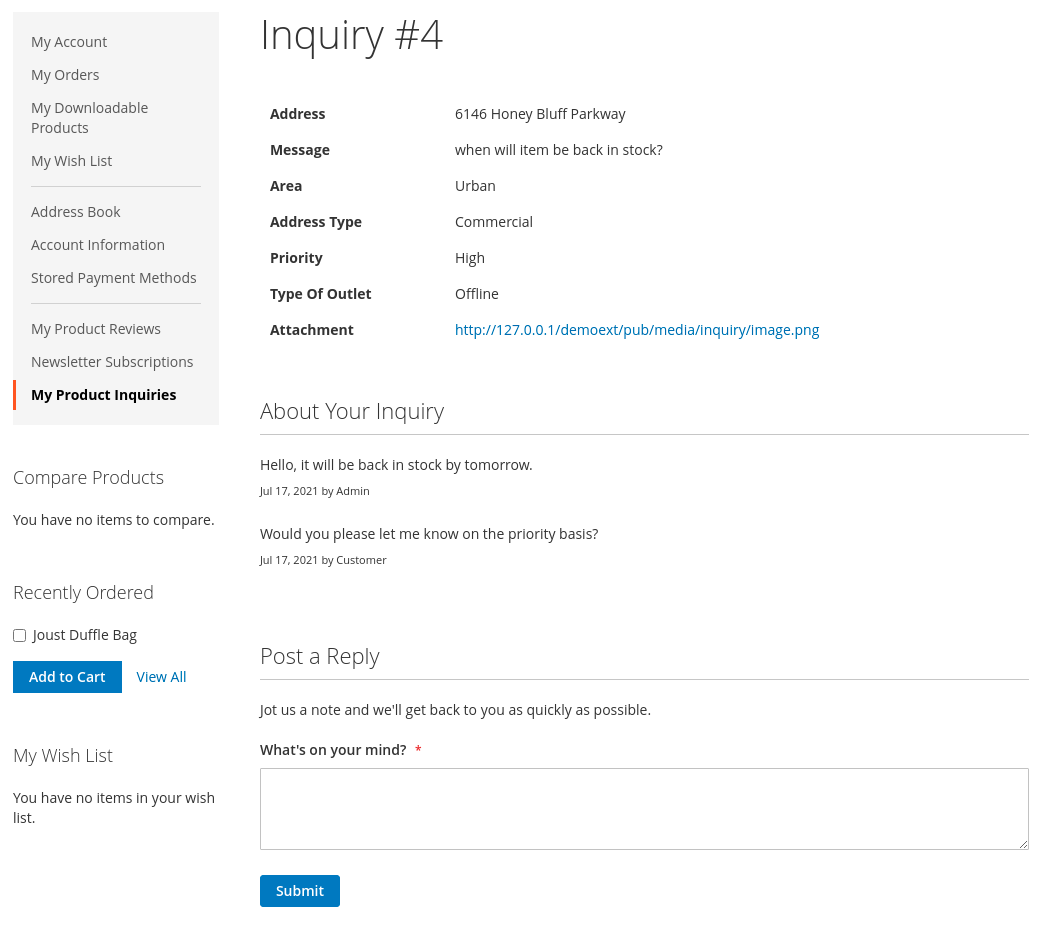
Post a Reply
From the inquiry view page, the user can submit a reply.
On submitting a reply, the admin will get an email notification.
Backend
Inquiry Forms
To add and manage inquiry forms, log into the Magento Admin panel and go to Marketing ⟶ Product Inquiry & Support by Magediary ⟶ Forms.
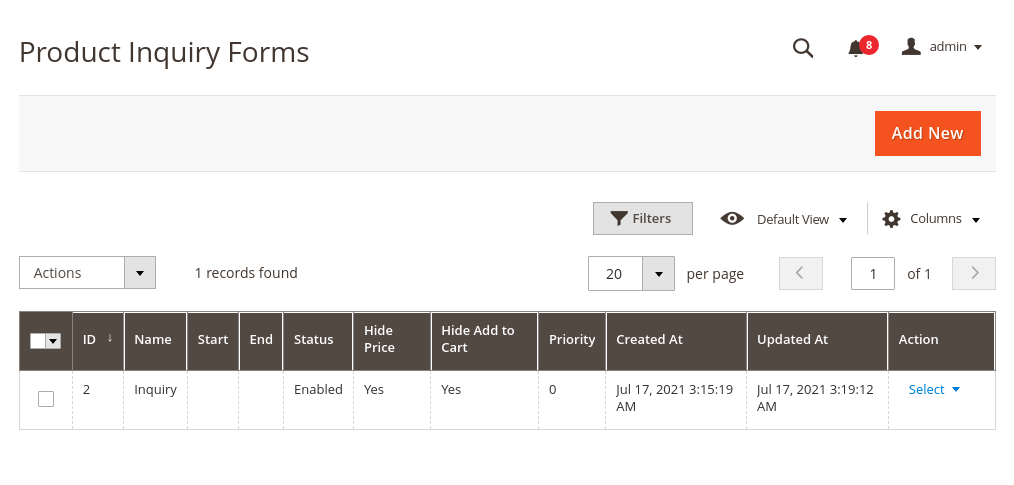
ID specifies the unique id of the history.
Name specifies the name of the form for internal use.
Start specifies the start date of the form from when it is visible on the frontend.
End specifies the end date of the form, till date the form will be visible on the frontend.
Status either the form is active or not.
Hide Price whether the price shows or not when the form is active.
Hide Add to Cart whether the add to cart button shows or not when the form is active.
Created At specifies the date and time of creation of the form.
Updated At specifies the date and time of action of the form updated.
Action admin can Edit or Delete the form from this dropdown.
Add New Form
Clicking on the Add New button from the grid page, it will create a new entry.
General Information
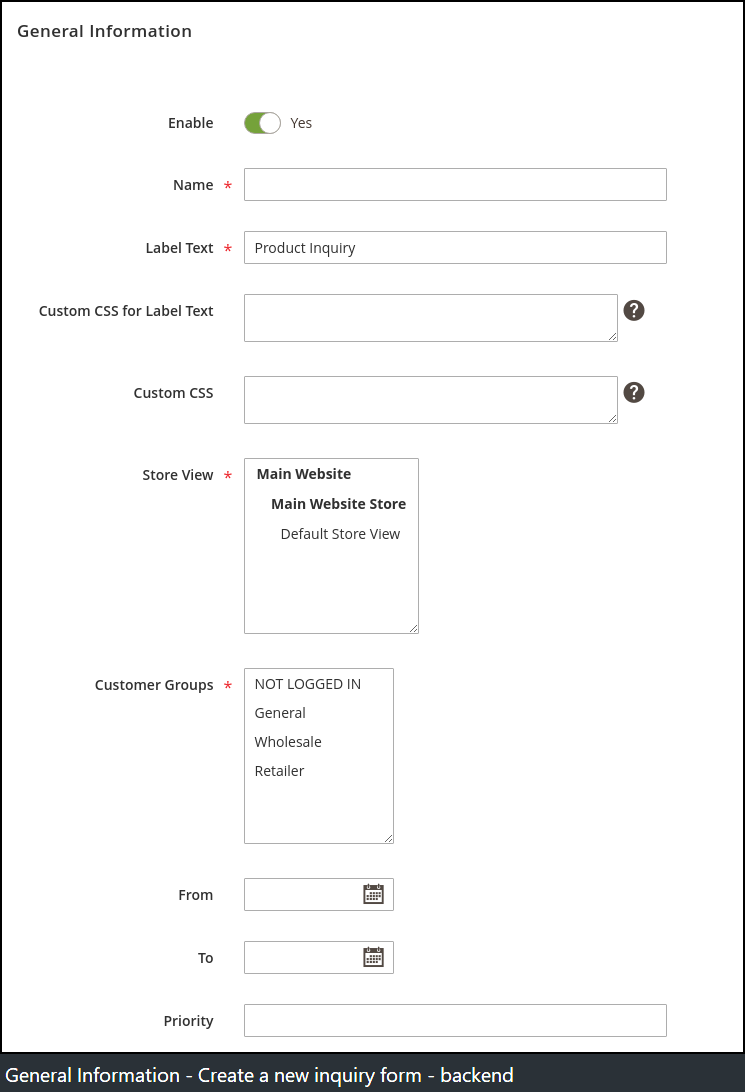
Here we can set some information about the form. Enable - set 'Yes' to enable the form for the frontend.
Name - specify the name for internal purpose.
Label Text - specify the title of the button or tab.
Custom CSS for Label Text - we can add custom CSS that will only apply to the text div block like (color:red; font-size: 16px;).
Custom CSS - you can specify custom CSS that will only apply to this label container like (padding: 4px;).
Store View - select stores for which the form will be enabled.
Customer Groups - select customer groups for which you want to enable this form.
From and To - select the time period in between the form will be displayed on the frontend or leave it blank to display all the time.
Priority - set the form priority. At a time, one form will be displayed on the frontend for a product. The value 1 is low and 10 is high.
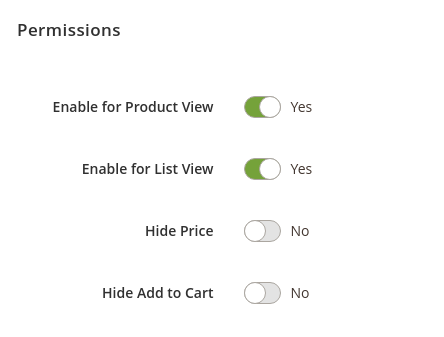
Permissions
Enable for Product View specifies either show this form on the product page or not.
Enable for List View specifies either show this form on the category page or not.
Hide Price specifies either show the price or not while the form is enabled. The price will not show on the frontend for the product.
Hide Add to Cart specifies either allow add to cart or not while the form is enabled. The customer can not add the product to cart.
Conditions
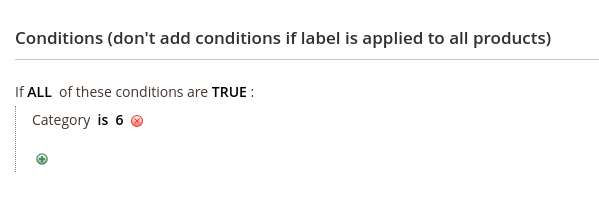
You can specify product conditions. The form will only be displayed and enabled for products if the conditions are met. Leave blank to display and enable the form to all products.
Form Fields
The admin can manage form fields dynamically from this section.
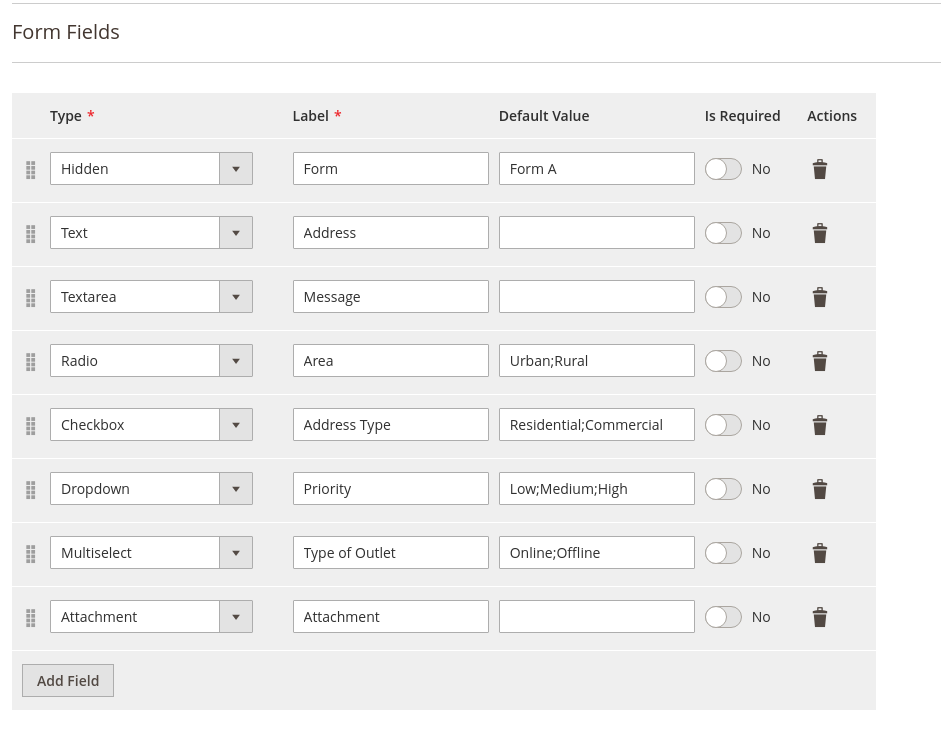
Type - Specify the input type. Possible options are:
- Hidden
- This field will be hidden on the frontend but will be included in the email.
- Text
- Textarea
- Radio
- We can add multiple option values by
;separated. LikeUrban;Ruralthat will be displayed on the frontend like
- We can add multiple option values by
- Checkbox
- We can add multiple option values by
;separated. LikeResidential;Commercialthat will be displayed on the frontend like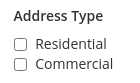
- We can add multiple option values by
- Dropdown
- We can add multiple option values by
;separated. LikeLow;Medium;Highthat will be displayed on the frontend like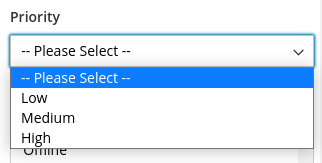
- We can add multiple option values by
- Multiselect
- We can add multiple option values by
;separated. LikeOnline;Offlinethat will be displayed on the frontend like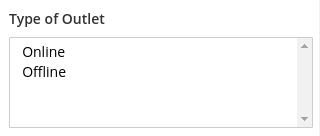
- We can add multiple option values by
- Attachment
- Customer - First Name
- Customer - Last Name
- Customer - Email
Label - Specify the label for the field.
Default Value - Specify the default value that will be prefilled.
- For the following inputs, the admin can add option values by (;) separated
- Radio
- Checkbox
- Dropdown
- Multiselect
Is Required - Specify either the field is required or not.
Actions - Delete the field.
Add Field - Allows to add a new field option.
Drag - It allows moving the position of the options.
Admin Email Notification
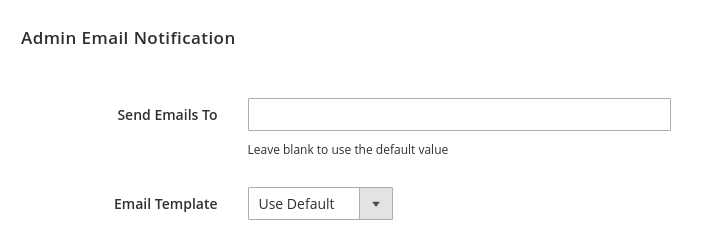
Send Emails To - Specify the email address on which the email will be sent on submit a new inquiry for this form. Leave it blank to use the default value that is set under the store configuration.
Email Template - Set the custom email template that will be used to send the email to the admin. By default, it will use the default template that is set under the store configuration.
View Inquiries
To view all inquiries, log into the Magento Admin panel and go to Marketing ⟶ Product Inquiry & Support by Magediary ⟶ Inquiries.
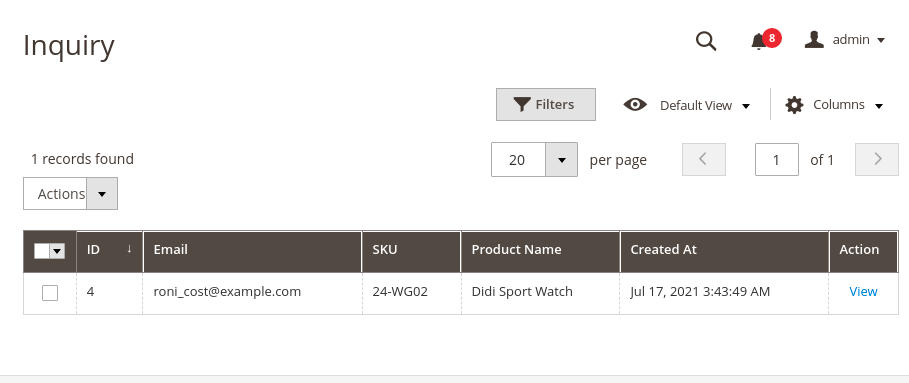
ID specifies the unique id of the inquiry.
Email specifies the email of the customer who submitted the inquiry.
SKU specifies the SKU of the product for which the inquiry is submitted.
Product Name specifies the name of the product for which the inquiry is submitted.
Created At specifies the date and time of the inquiry submission.
Action the admin can View the inquiry.
On click the View link, admin can view details of the inquiry that contains four sections
- Basic Information
- It contains information like the user's name, email, product sku, name and date.
- Additional Information
- List of custom form fields values that added by the customer
- Comment History
- List of replies added by customer and the admin
- Add a Comment
- Add a reply to the inquiry
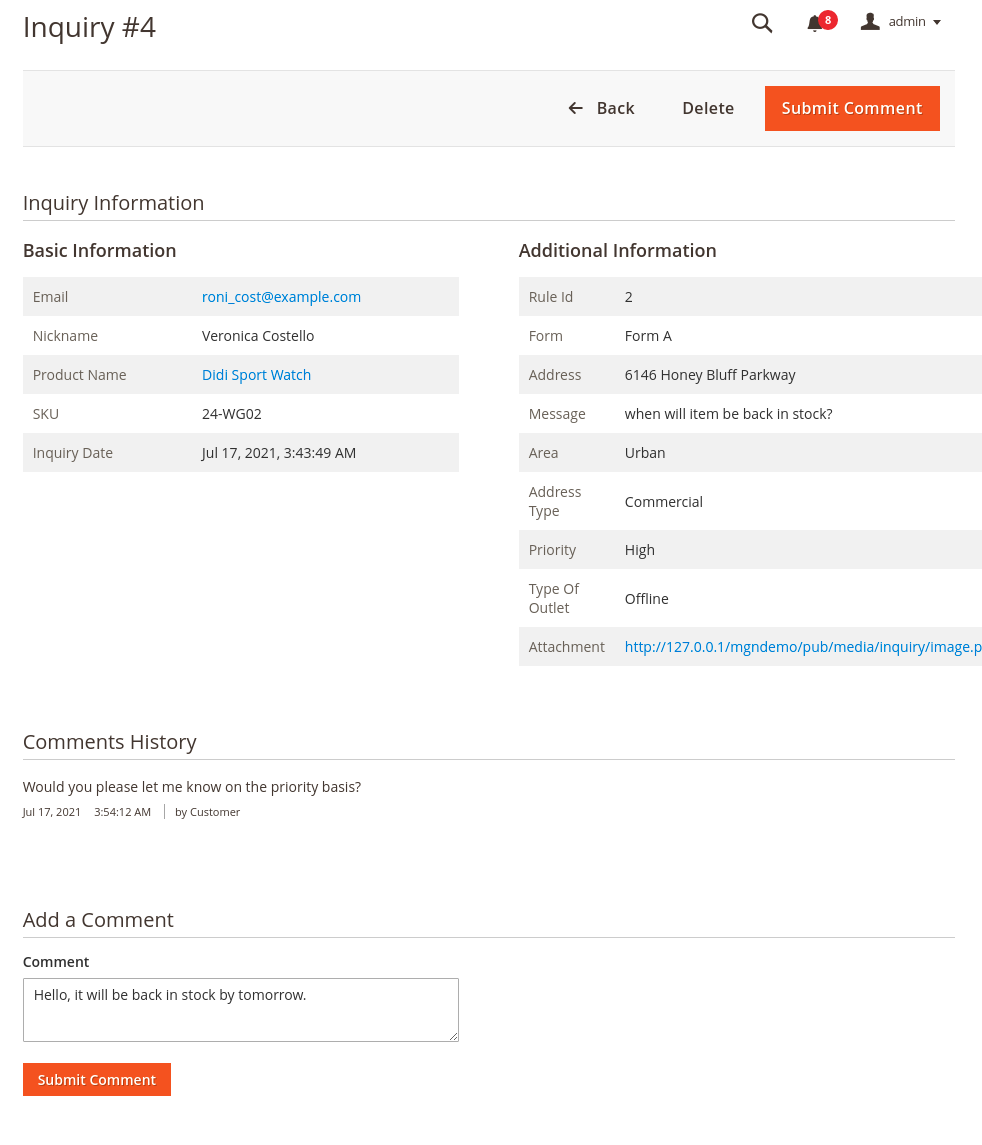
Add a Comment
On Submit Comment from the inquiry view page by the admin, the customer gets an email notification
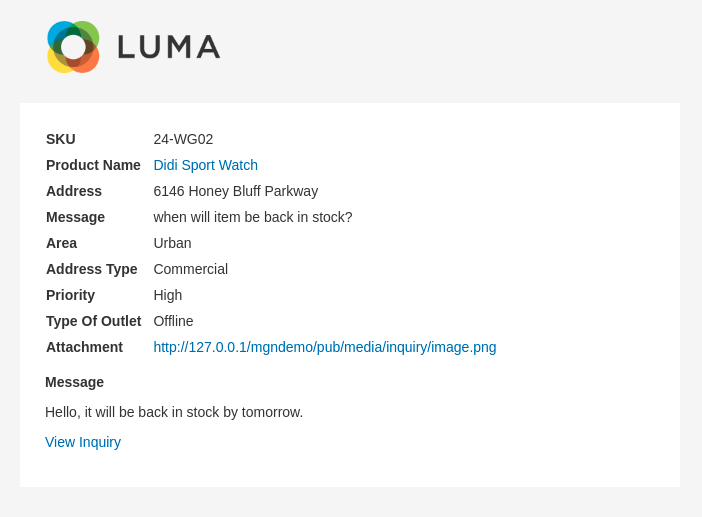
Here, the guest user can also view the inquiry by clicking the View Inquiry link and the guest user can also add a reply from their end.
ACL
Admin can manage access control for the following
- Forms
- View Inquiry
- Delete Inquiry
- Add Comment
- Store Configuration
Configuration
After logging into the Magento Admin panel, navigate to the following path to access configuration.
Stores ⟶ Configuration ⟶ Magediary ⟶ Product Inquiry & Support
General
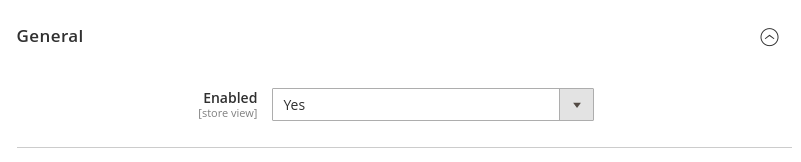
Enabled activates the extension, which displays the inquiry form on the front-end product, category and list of submitted inquiries on customer's my account page.
Form
This section helps you to set up multiple parameters for the inquiry form.
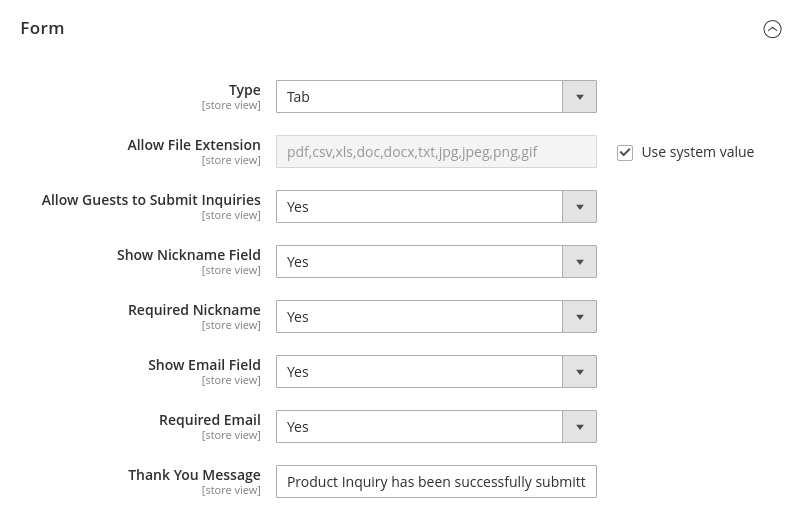
Type
- Tab: shows the inquiry form as a tab on the product page.
- Pop-up: instead of tab, shows the form in the pop-up by clicking on the inquiry button.
Allow File Extension comma separated values of allowed extension for the attachment field file upload.
Allow Guests to Submit Inquiries lets you decide whether a guest user can submit an inquiry or not. If set to No, then it is required to login or create an account for guest users. So only registered customers can submit an inquiry.
Show Nickname Field it adds the nickname field in all inquiry forms by default. It prefills if the customer is logged in.
Required Nickname provides an option to indicate whether the nickname field required or not in the inquiry form. If set to No, then the customer can submit a form without entering a nickname.
Show Email Field it adds the email field in all inquiry forms by default. It prefills if the customer is logged in.
Required Email provides an option to indicate whether the email field is required or not in the form. If set to No, then the customer can submit a form without entering an email.
Thank You Message the success message that shows on submitting the form.
Customer Email Notification
This section lets you configure multiple parameters. This configuration is used when the admin submits a reply to the inquiry.
 Enabled provides an option to email the customer on submit a reply of the inquiry from the admin.
Email Sender provides an option to set default email sender.
Email Template helps you to set a custom email template if you want to modify the default email template. This email template is used when the admin submits a new reply.
Answer Email Notification
This section lets you configure multiple parameters. This configuration is used when the customer submit a new inquiry or submit a reply.
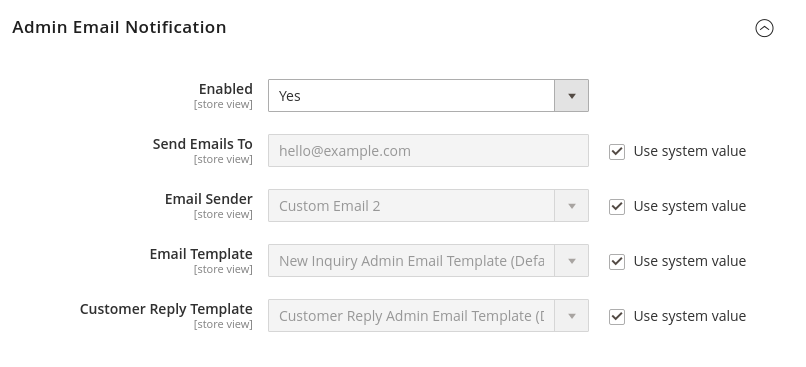
Enabled provides an option to email the admin on submit a new inquiry by the customer.
Send Emails To the admin gets an email notification to this email address.
Email Sender provides an option to set default email sender.
Email Template helps you to set the custom email template if you want to modify the default email template. This email template is used when a user submits a new inquiry.
Customer Reply Template helps you to set the custom email template. This email template is used when the customer submits a new reply from the inquiry view page on the frontend.
YouTube demo
How it works - Demo